
Spring Carrots (Two Ways)
SKU:
$5.00
$5.00 - $8.00
per item
Materials:
- 8 ½ ” x 11” sheets of White Paper or Larger
- Paint (Watercolor, Acrylics)
- Paint Brush
- Glue stick
- Pencils
- Magazine clippings
- 1" Sponge Brush or Sponge
Directions:
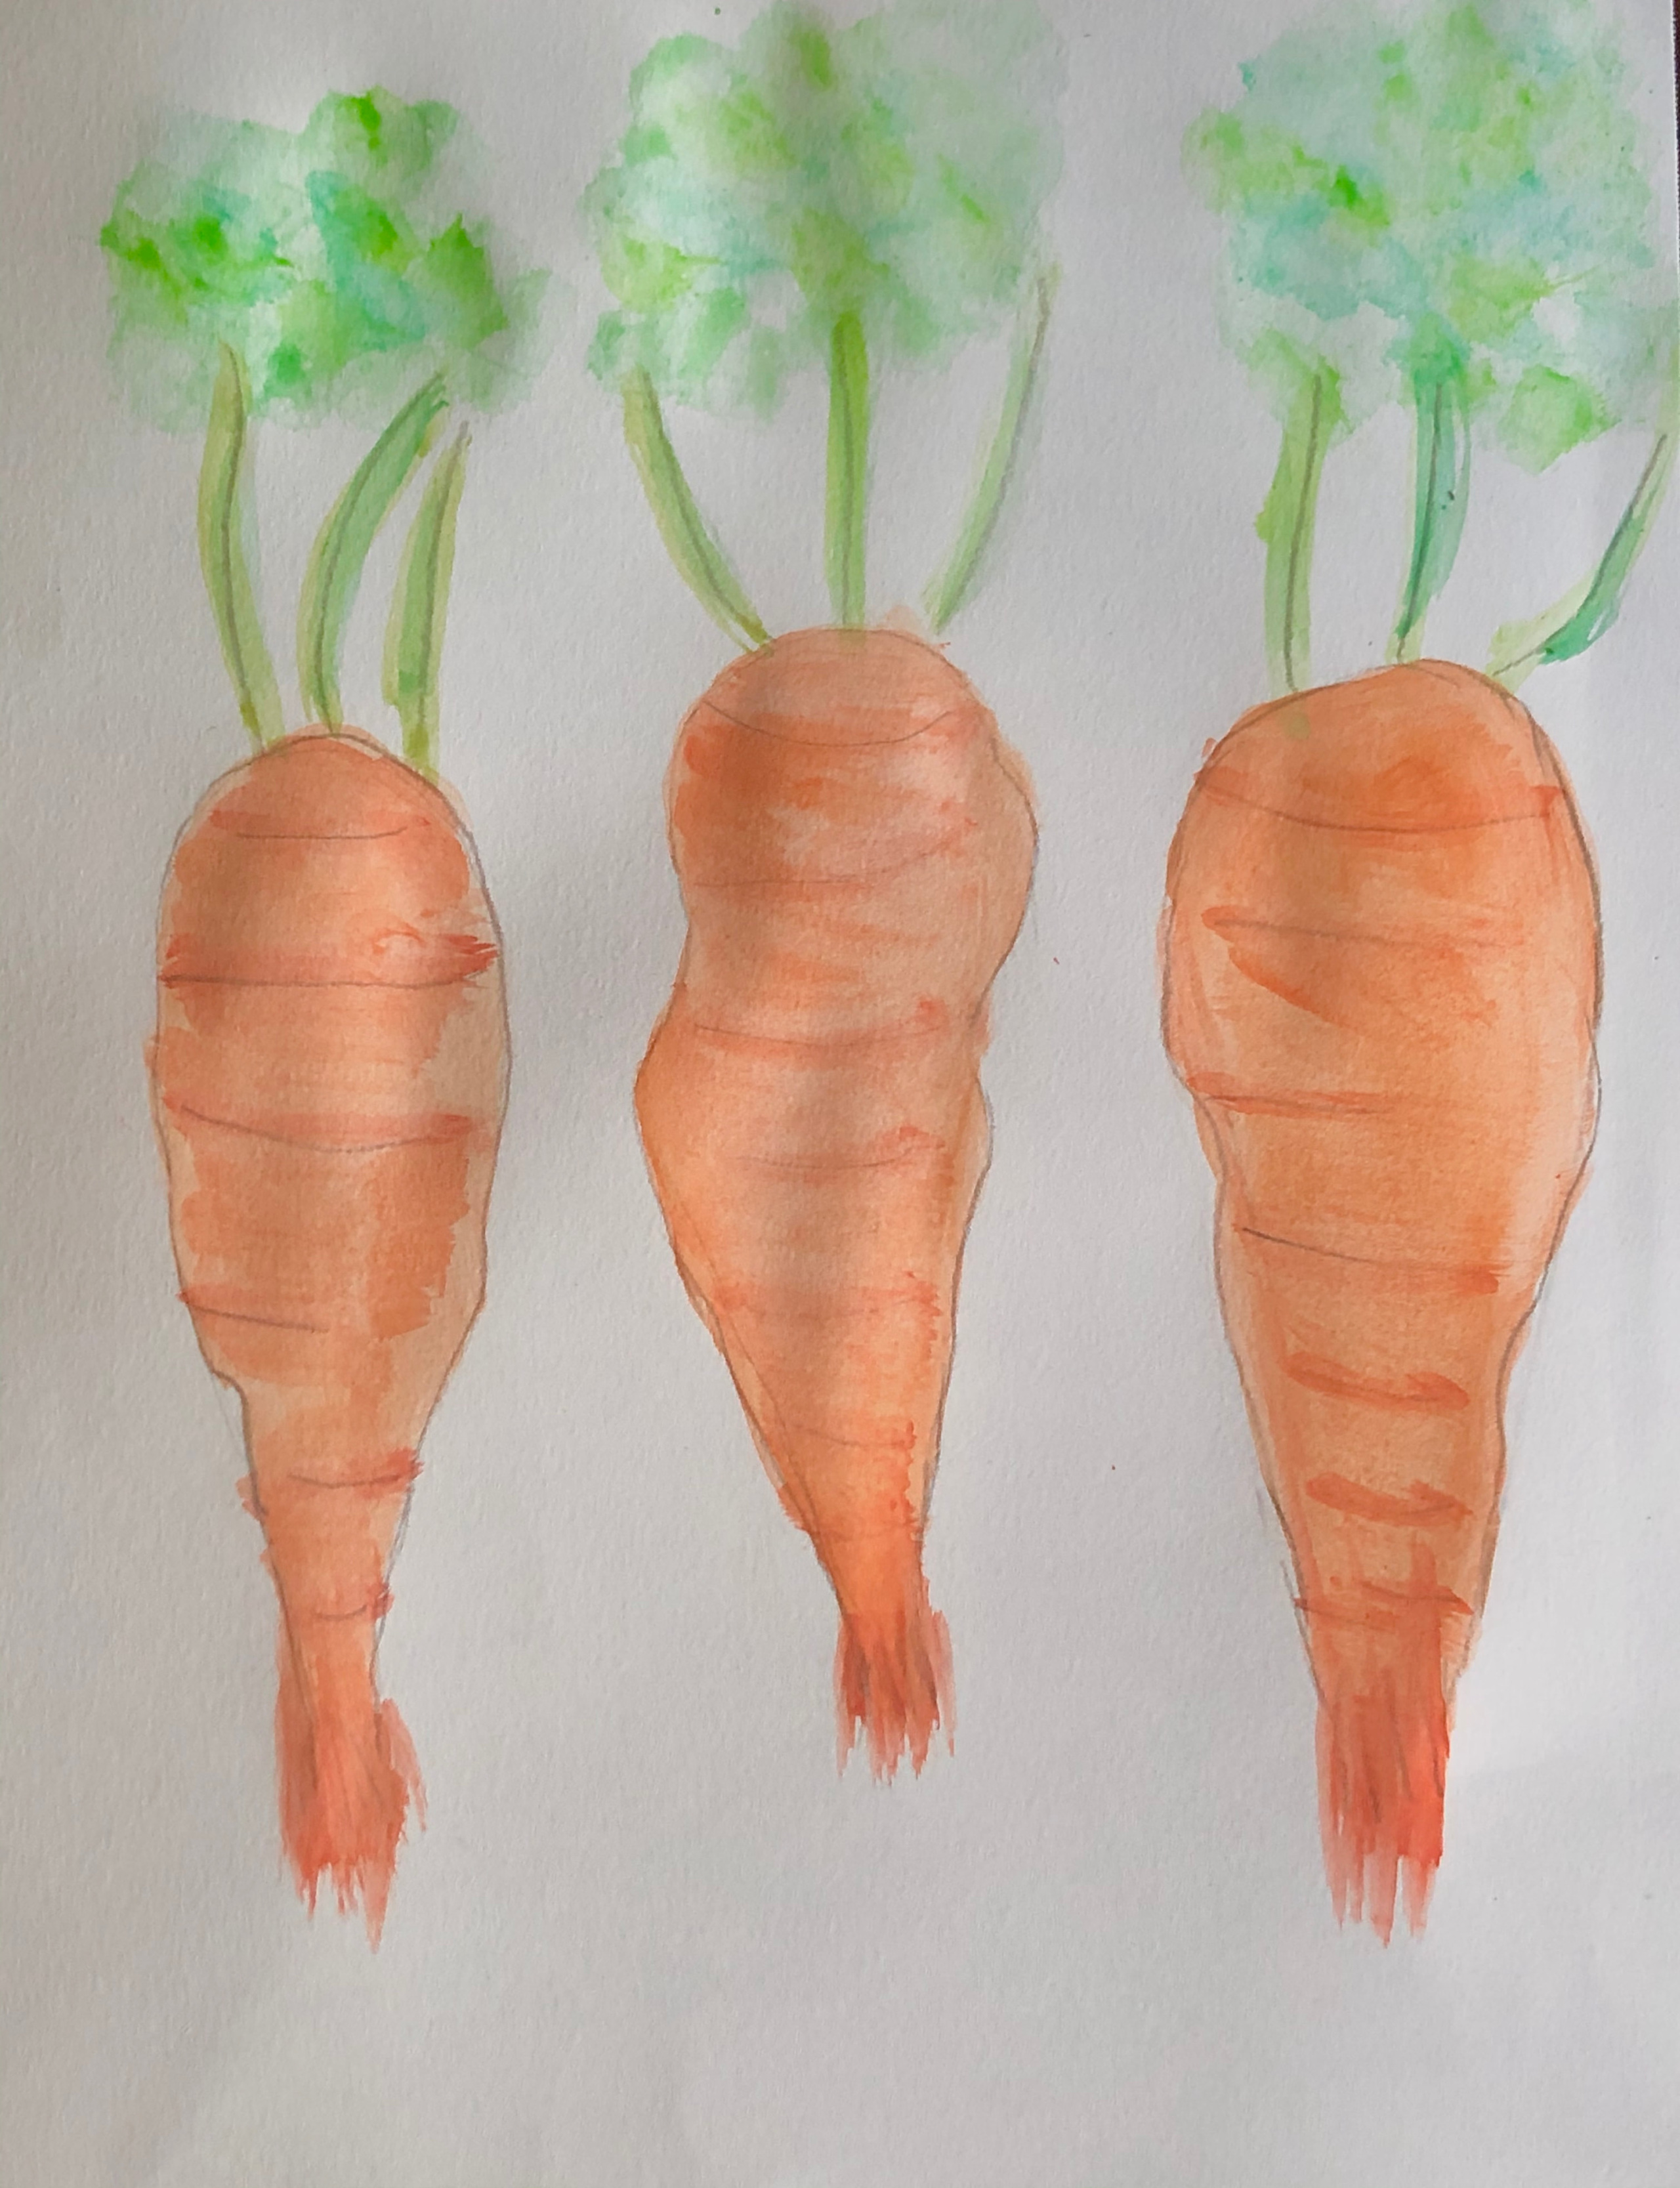
Watercolor Carrots
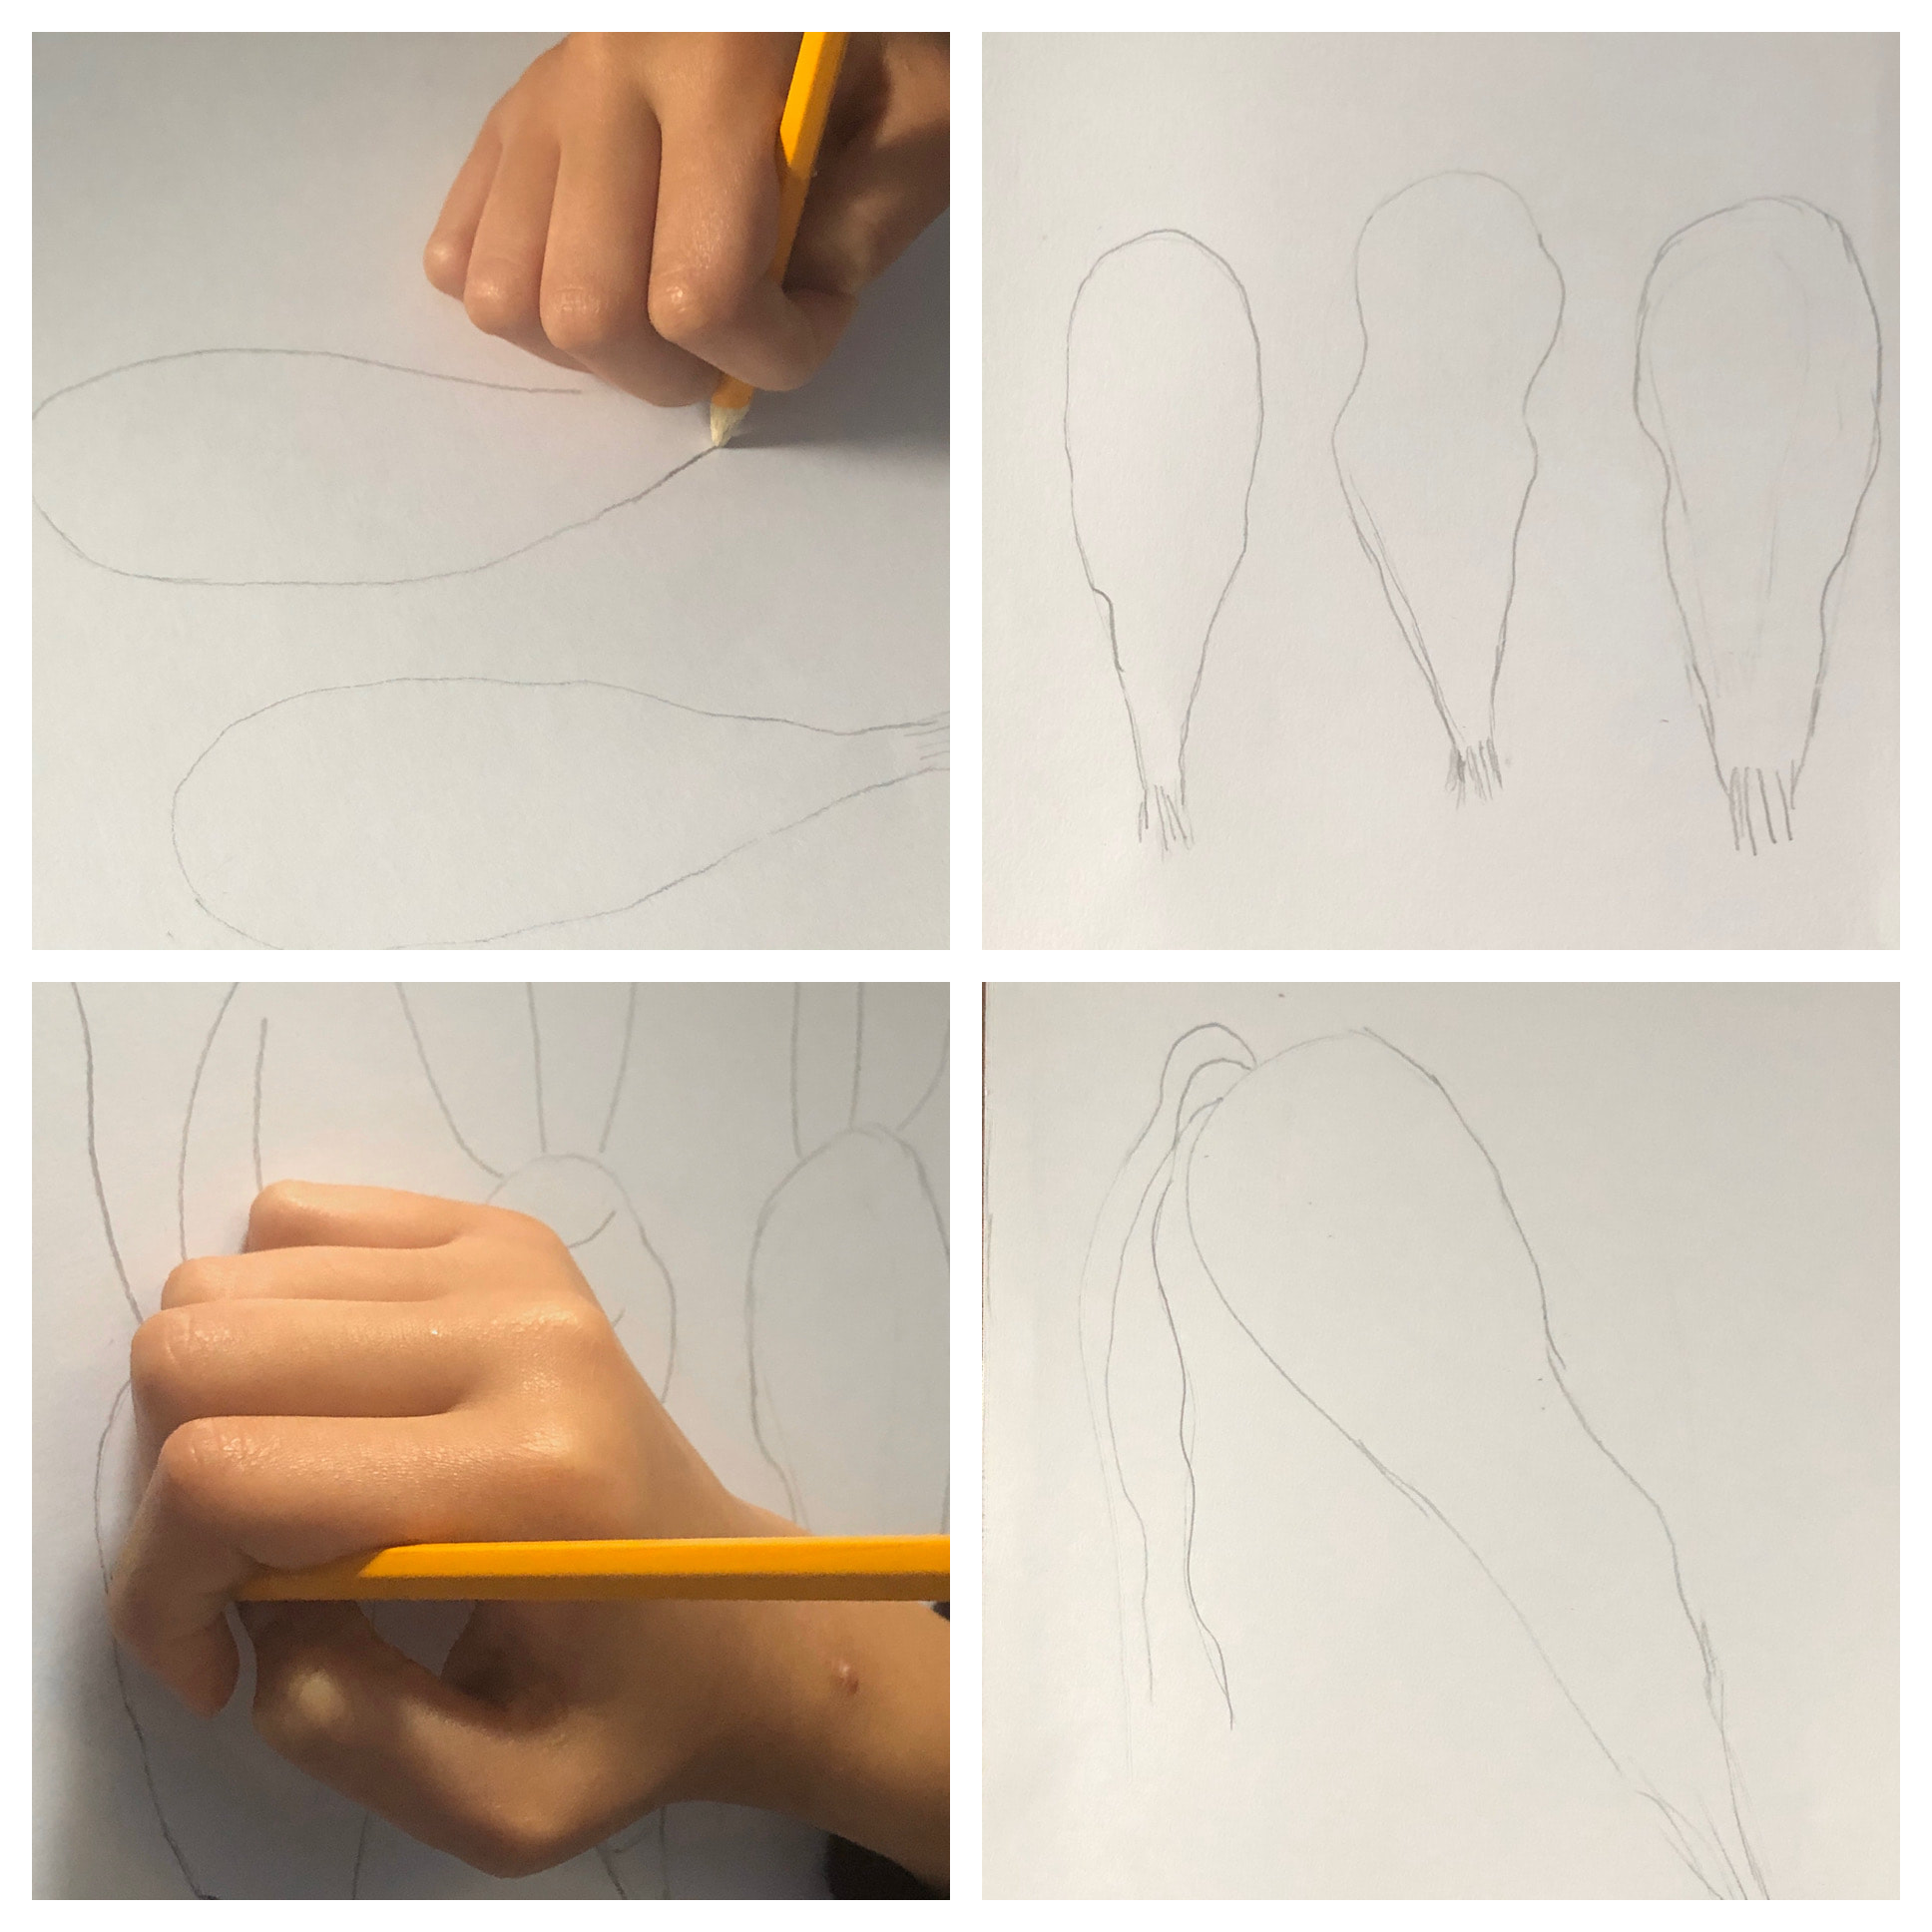
- Start by drawing 3 upside down "U" shapes, evenly spaced across your paper, these are your "carrots."
- Then draw 3 lines extending from each of your 3 "U" shapes these are the "stems" of your "carrots"
- To create the ridges in your carrots, draw small horizontal lines across each "carrot"
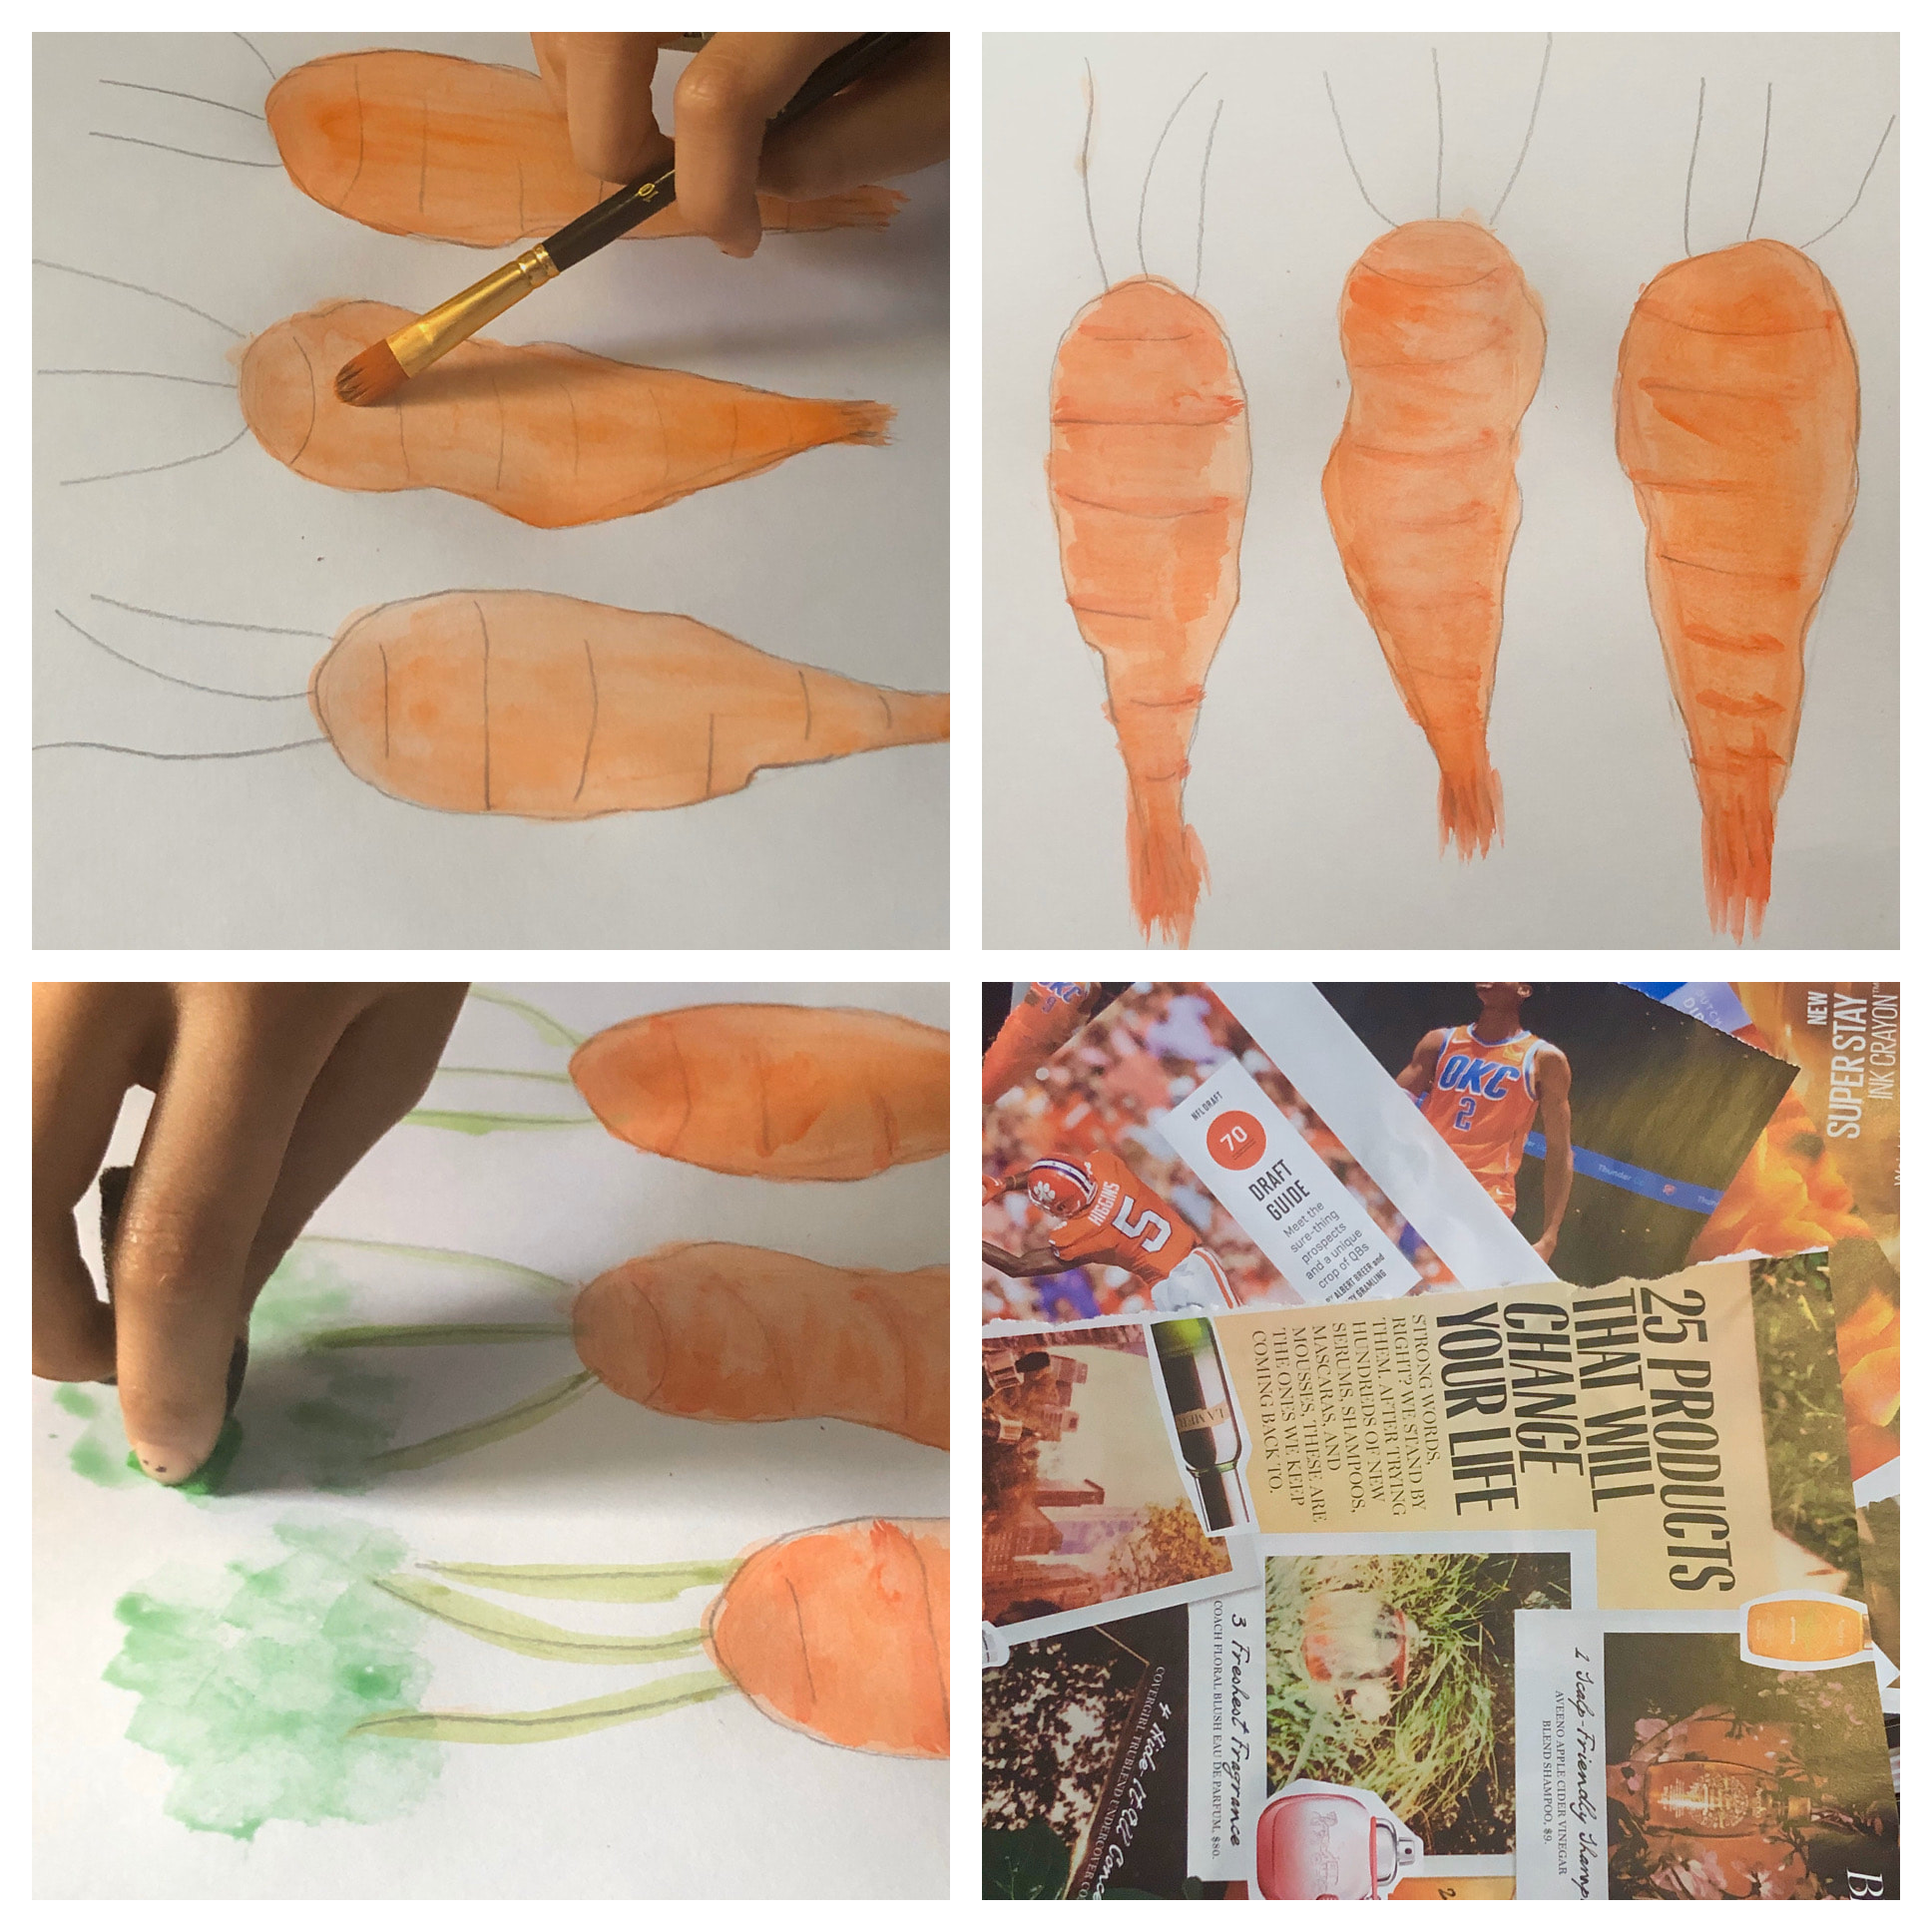
- Paint each carrot orange, use a dark red to trace over your horizontal lines, use shades of green for each of the "stems."
- To create the "leaves" dip your sponge brush or sponge in different shades of green and dab on to the top of your "stems"
Collage Carrots
- Draw a large upside down "U" shape on your paper, this is your "carrot."
- Then draw 3 lines from the top of your "U" shape and extend them down along one side of your "carrot" these are your "stems"
- Using your watercolors, paint the "carrot" orange and the "stems" green. Let dry.
- Look for orange and green in the pages of old magazines, if you do not have magazines you can always use orange and green construction paper. If you have neither of the two use smaller strips of white paper and color or paint these orange and green.
- Now rip or cut these papers into pieces that your will use to fill in the carrot and stem. Use glue to adhere the papers.
Learn about the benefits of eating carrots! They're not just for bunnies!